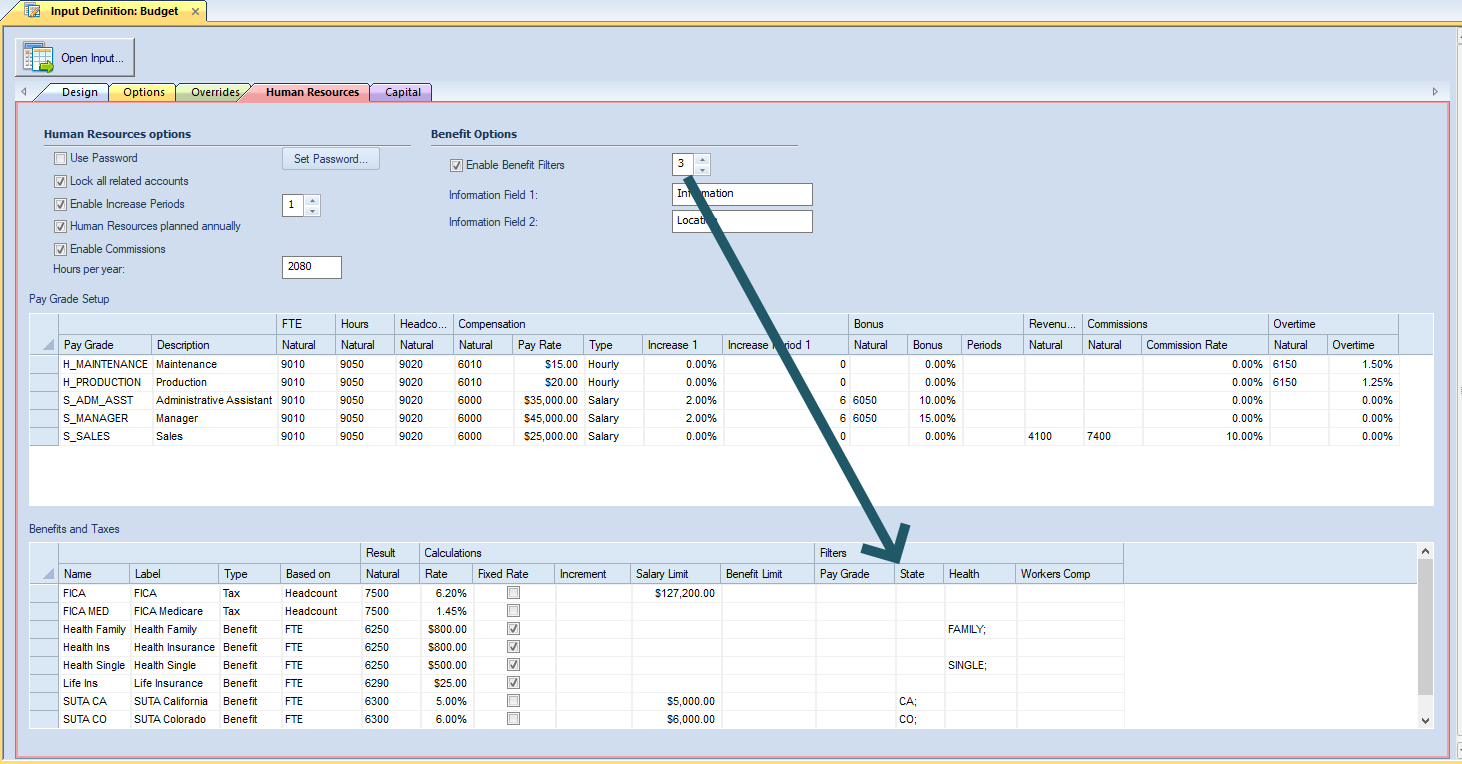
Based on the number you have entered in the Enable Benefit filters field, x-number of user fields added. The entries you define for these fields must be unique and are case-sensitive.

To add values to your Field(s):
1. Open the Input Definition. (You must have at least one item defined in Enable Benefit filters.)
2. Select a benefit or tax in the grid.
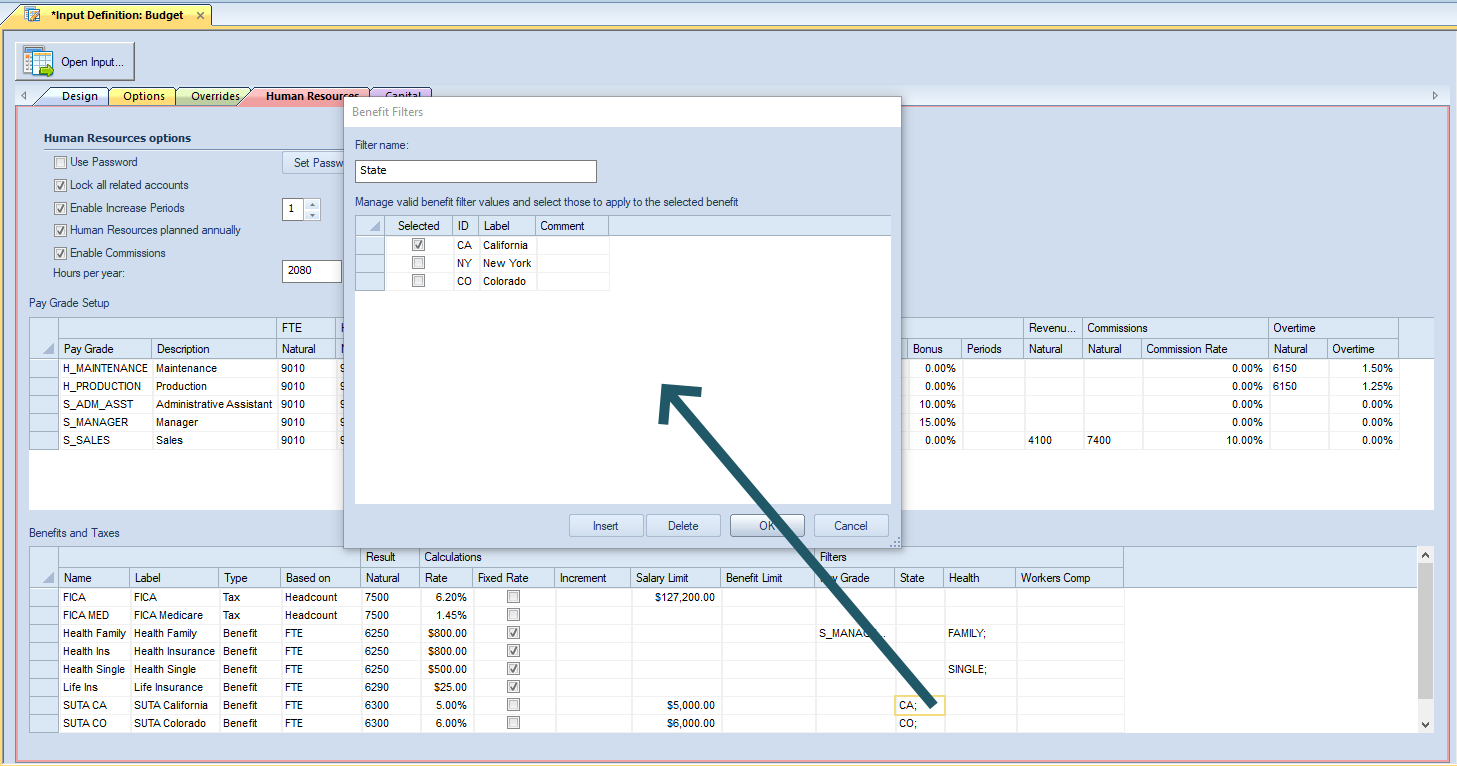
3. In the User Field you want to define data for, select either the ellipsis button OR the Manage Filters option from the context ribbon.

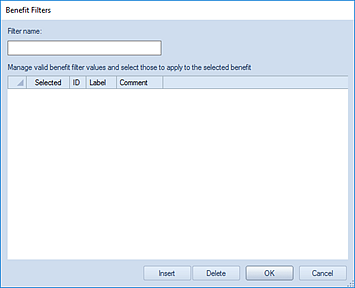
4. The Benefits Filter window will open.

5. Enter a Filter name.
6. Click the Insert button to insert a new row. You will add a new row for each value you want associated to the Benefit or Tax. (The entries you define for your values must be unique and are case-sensitive.)
7. Add the ID, Label, and any comments.
8. Check the Selected checkbox to associate the value to the benefit or tax row item.

Checking the “Selected” checkbox will show the values in the cell for the row in the grid, once the dialog is closed. You can retain entries - but choose to not associate them to the row entry - by deselecting the “Selected” checkbox.
Additionally, you can modify the values by selecting the row entry and making your change(s).
9. After adding Field values, select the Ok button. (Conversely, you can delete a value by highlighting a row or rows and
10. Select the Save button on the Quick Access Toolbar or select the Ctrl + S keys to save changes to your Human Resources tab.