To add line item data to your Data Input workspace:
1. Open the Input Definition for the parameters you require.
2. Use the Open Input button on the set to open the Data Input workspace or the Open Input option on the ribbon.

-or-

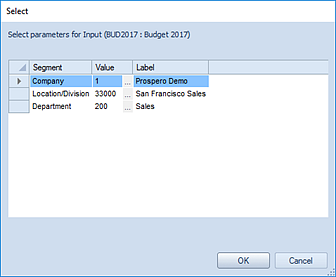
3. Enter your plan prompts as required and select the Ok button to open the workspace.

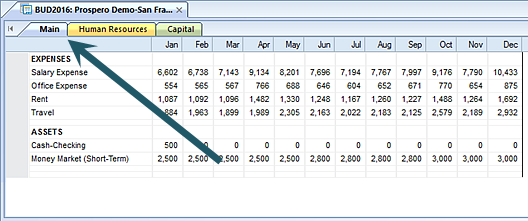
4. The opened workspace will default to the Main tab.

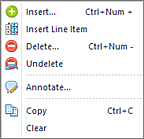
5. Select any available row on the Main tab and select the Insert Line Item option on the ribbon.

Conversely, you can right-click and select the Insert Line Item option from the pop-up menu.

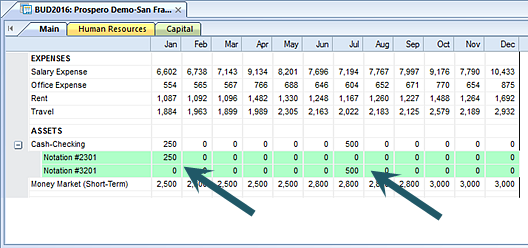
6. Enter a value in the line item’s value column.

7. To add additional Line Item rows, right-click to again select the Insert Line Item option from the pop-up menu. (If you have previously added a total amount in the parent account row, adding a new line item will zero out the total and then re-sum the total based on the line item amounts.)
8. When you have completed entering data, select the Save button on the Quick Access Toolbar or Ctrl-S to save your work.
When the same or another Input Definition is opened, you will be presented with the previous set of prompts and can then change the prompt values. If you have defined specific criteria for Human Resources Pay Grade, Benefits, Taxes, Capital, or Overrides on the Input Definition, opening the Data Input workspace will filter on that criteria based on your prompts.
Note: When an account is derived from a Human Resources or Capital item defined on the Input Definition, you will be prevented from entering information directly to the account. You can manually enter data to HR- or Capital-related accounts only when no items have been defined on the Input Definition using those associated accounts. In short, once employee or capital item records are added, if those accounts are used in the Input Definition, the accounts will be locked and will only display the read-only result of any calculation.