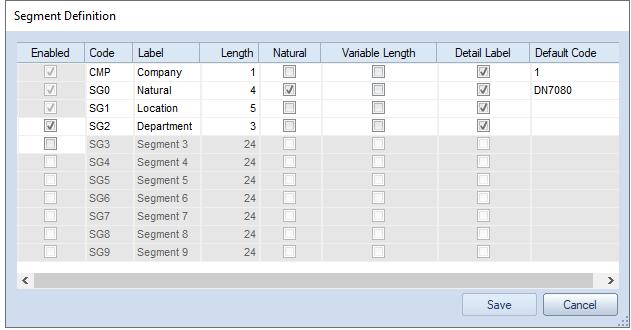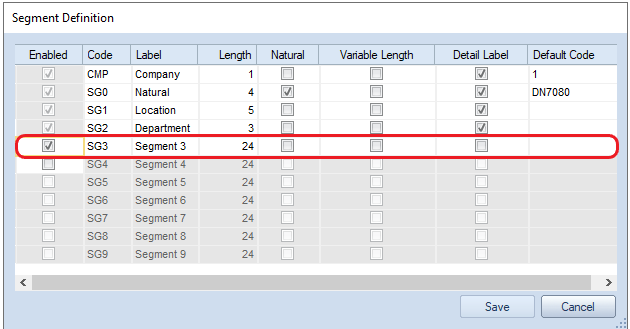
You can define additional segments using the Segment Definition dialog.
To enable segments in Prospero:
1. Click on the Segments bar in the Prospero Navigation Pane.
2. Click on the Segment Definition icon to open the Segment Definition dialog. (You must log in to the entity using an ID with permission to maintain segment definitions. This is an Administrative-level permission.)

3. Click the Enabled checkbox for the next unused segment row.

4. Enter the Code, Label and Length. Length represents the maximum number of ID characters for any segment code.
5. OPTIONAL: Select if the segment reflects the Natural segment by checking the Natural checkbox.
6. OPTIONAL: Select if the segment should appear in labels on drill down to transaction level by selecting the Detail Labels checkbox(es).
7. OPTIONAL: Specify the Missing Code value by clicking on the ellipsis and making a selection from the dialog.
8. Select the Save button to save your Segment Definition.
Note: Segments must be enabled and disabled in their appropriate order in the chart of accounts hierarchy. To enable a segment, the segment before it must be enabled. Any segments listed after the lowest level of the segment hierarchy (or after the next segment level to be added) will be “grayed-out” and unavailable for modifying via the Enabled button selection.