To annotate your Data Input workspace:
1. Open the Input Definition for the parameters you require.
2. Use the Open Data button on the set to open the Data Input workspace.
3. Select a row on the Main, Human Resources, or Capital tab for which you wish to add an annotation.
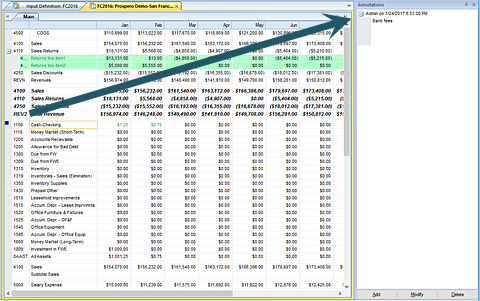
4. Select the Add button in the Annotations pane.

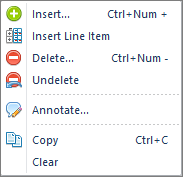
Alternatively, you can right-click and use the menu to select the Annotation option.

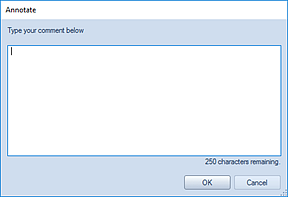
5. In the Annotate text window, enter your text. Select OK when you’re done.

6. While your cursor remains focused on the specific row where the annotation is made, the text will appear in the Annotations pane.

Your annotation will be shown noted on the row with a blue square.
7. When you are done adding your annotations, select the Save button on the Quick Access Toolbar or (Ctrl + S) to save your data. Close the workspace.
Comments in the annotations pane are listed in descending date order. Where more than one comment has been added, comments will show from newest to oldest and all others will collapse to list only the date and author.
When you reopen the Input Definition, any added annotations in the annotations pane will also appear. However, if you copy the original budget’s Input Definition to another budget’s Input Definition, any annotations will not be carried to the new budget.
Lastly, you can elect to have your annotations show on the Data Input workspace’s columns. This is an optional setting in Prospero Options.